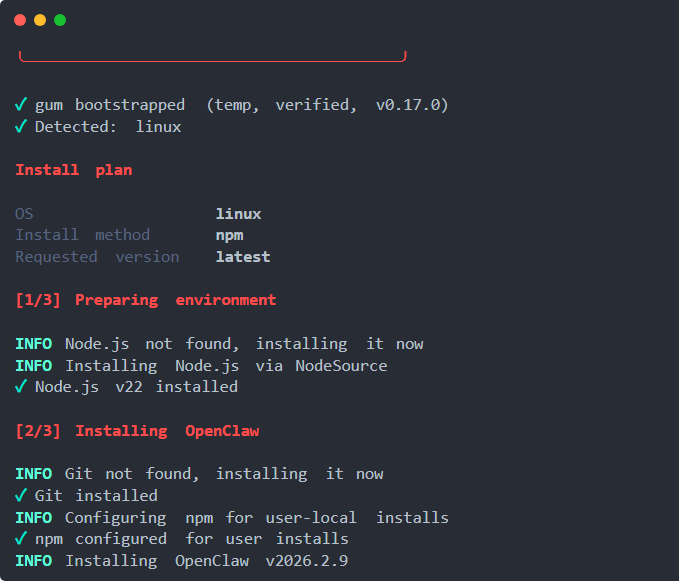
使用以下命令一键安装。
macOS/Linux:
curl -fsSL https://openclaw.ai/install.sh | bash
Windows(PowerShell):
iwr -useb https://openclaw.ai/install.ps1 | iex
启动引导
安装完成后,运行 Onboarding 完成初始配置。这是最关键的一步:
openclaw onboard --install-daemon
新手引导会配置认证、Gateway 网关设置和可选渠道。:
Gateway 基础操作
Gateway 是 OpenClaw 的核心进程,所有功能都依赖它运行:
# 查看 Gateway 状态
openclaw gateway status

# 在前台运行(适合调试)
openclaw gateway --port 18789

# 详细日志模式
openclaw gateway --port 18789 --verbose

# 强制占用端口并启动(解决端口冲突)
openclaw gateway --force

# 重启 Gateway
openclaw gateway restart

# 停止 Gateway
openclaw gateway stop

# 查看实时日志
openclaw logs --follow
访问 Control UI
Control UI 是 OpenClaw 的可视化管理界面:
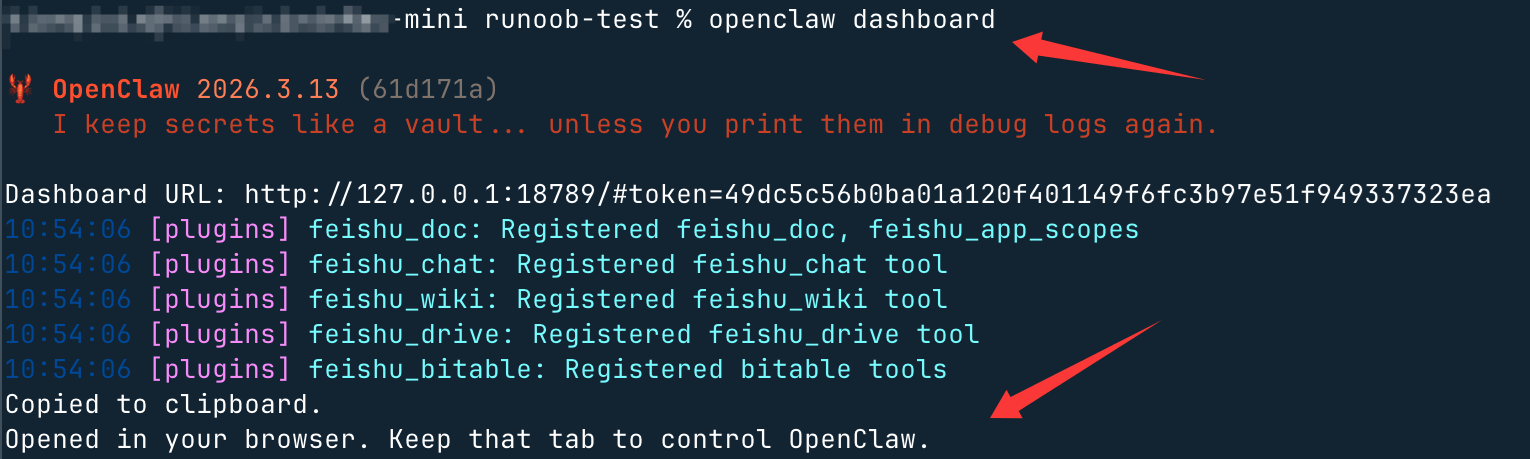
# 打开 Control UI(自动在浏览器中打开)
openclaw dashboard
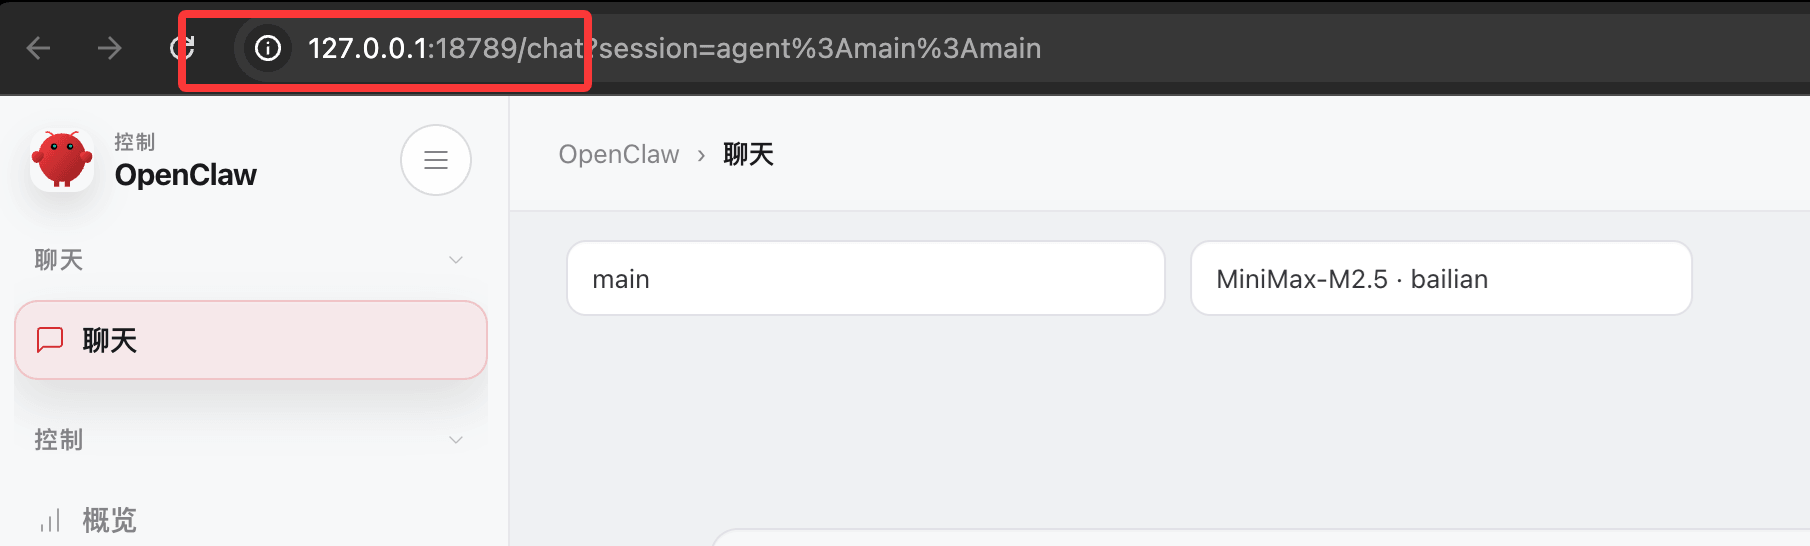
或者直接访问: http://127.0.0.1:18789/。
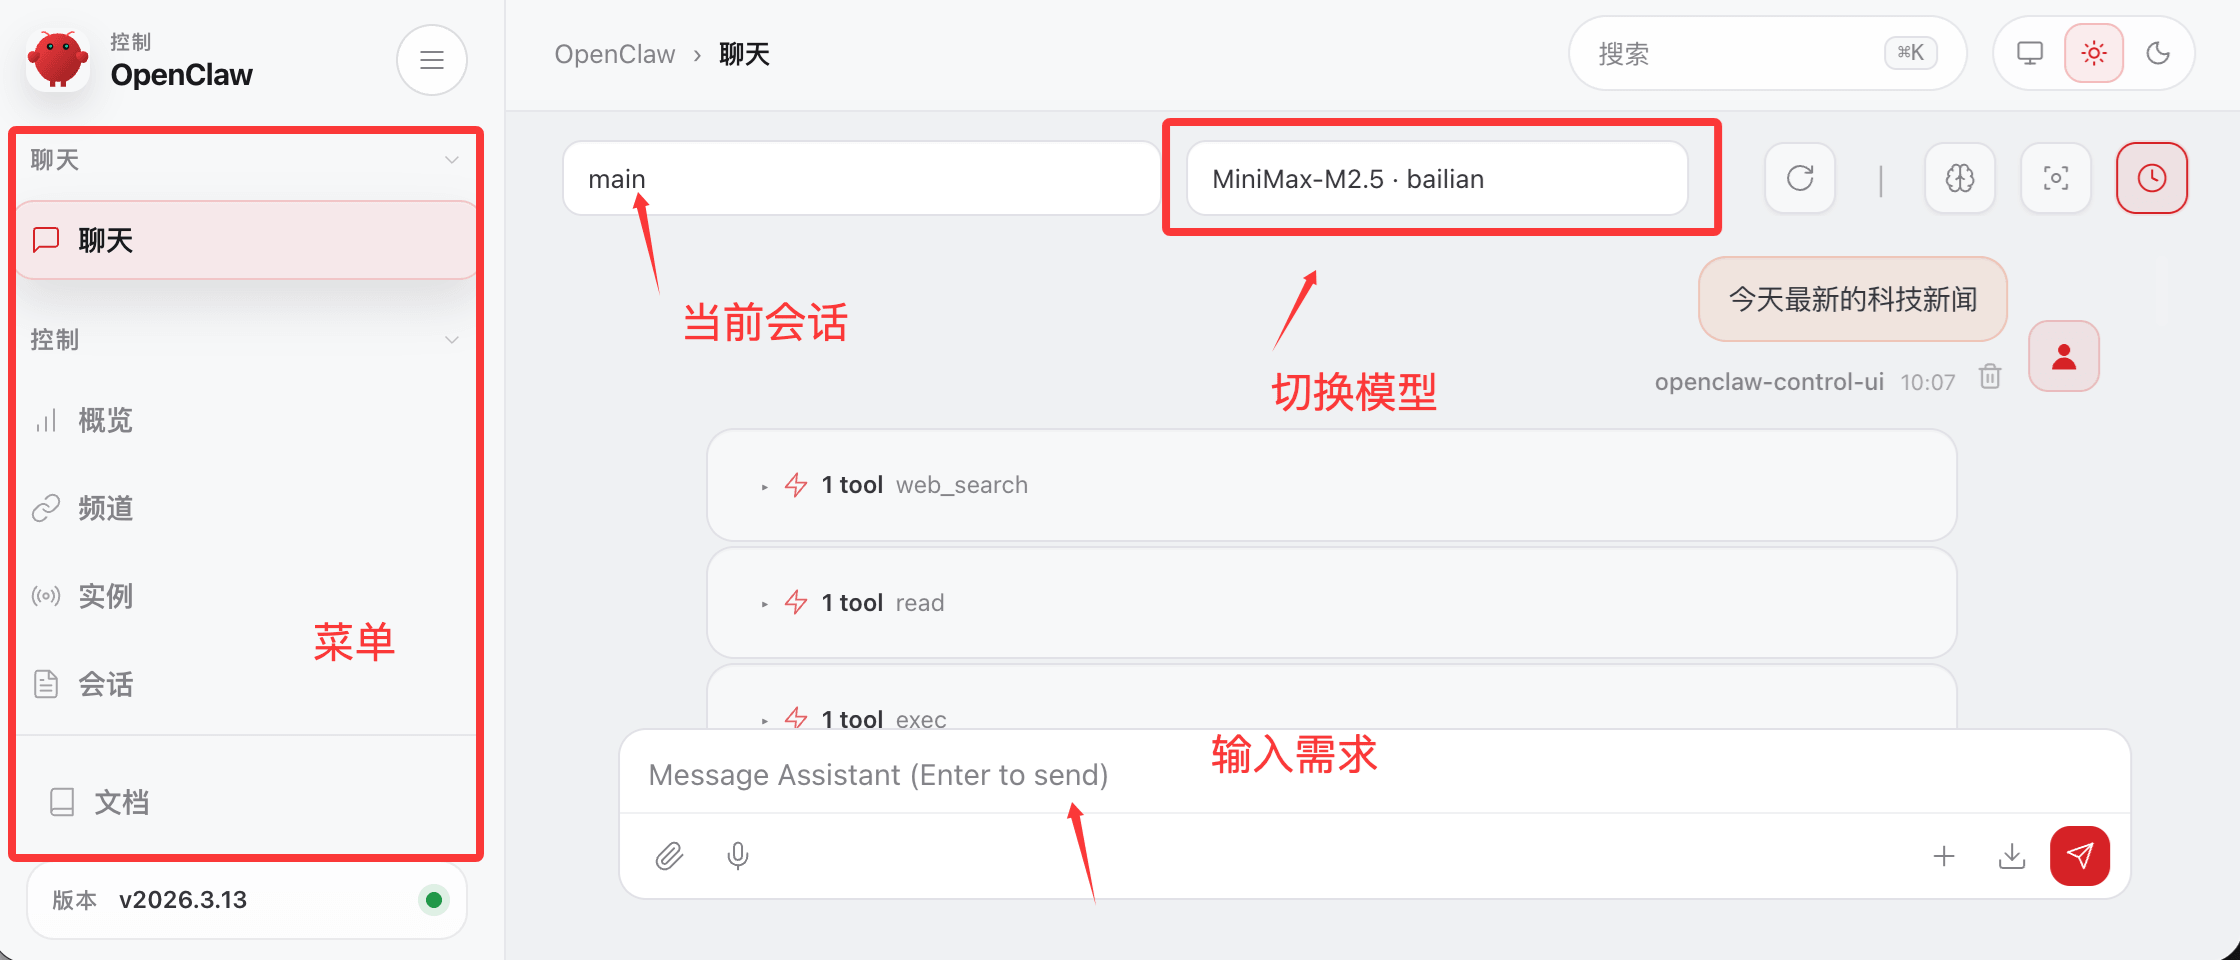
Control UI 的主要功能:
接下来我们就可以在页面开始聊天了:
最快体验路径
打开 Control UI 后直接开始聊天——不需要配置任何 Channel!这是最快验证 OpenClaw 正常工作的方式。
关键命令速查
Gateway 热重载机制
OpenClaw 支持配置热重载,默认为 hybrid 模式:
TUI:终端聊天界面
除了浏览器 Control UI,OpenClaw 还提供了一个完全在终端里运行的交互界面——TUI(Terminal UI),无需浏览器,SSH 连进服务器也能直接聊天。
快速启动
# 第一步:确保 Gateway 已运行
openclaw gateway

# 第二步:打开 TUI
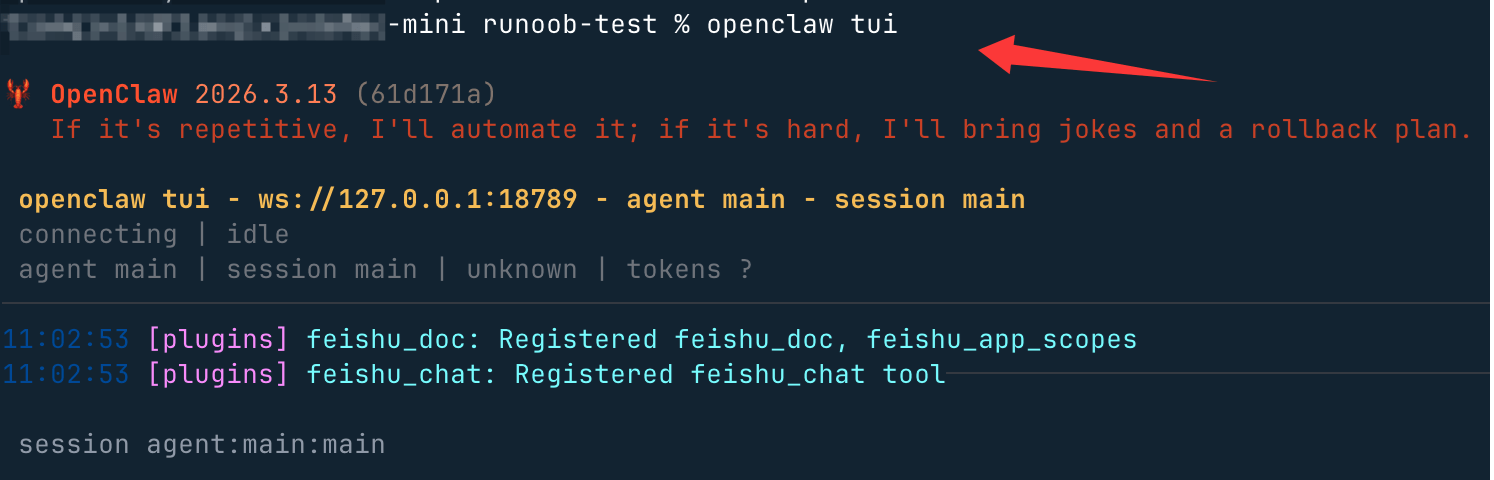
openclaw tui
连接远程 Gateway:
openclaw tui --url ws://<host>:<port> --token <gateway-token>

# 如果 Gateway 使用密码鉴权
openclaw tui --url ws://<host>:<port> --password <password>
界面布局
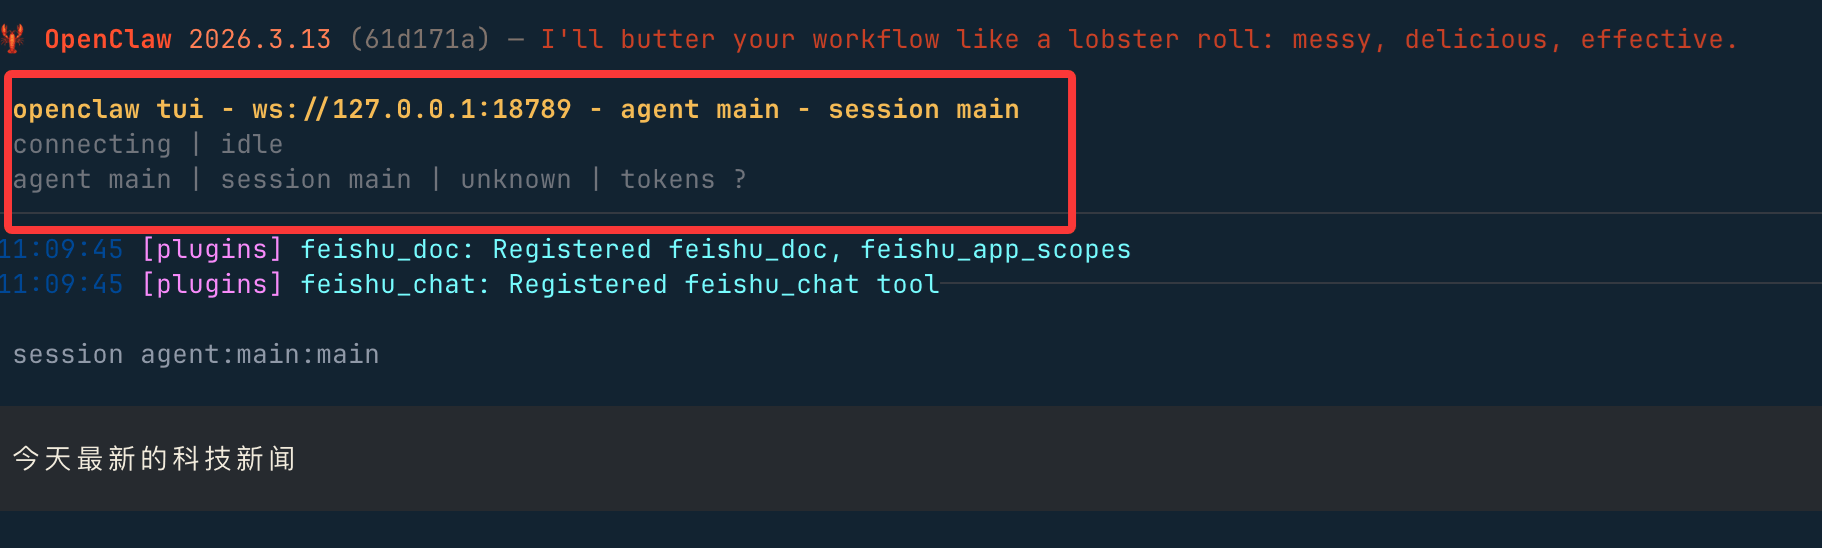
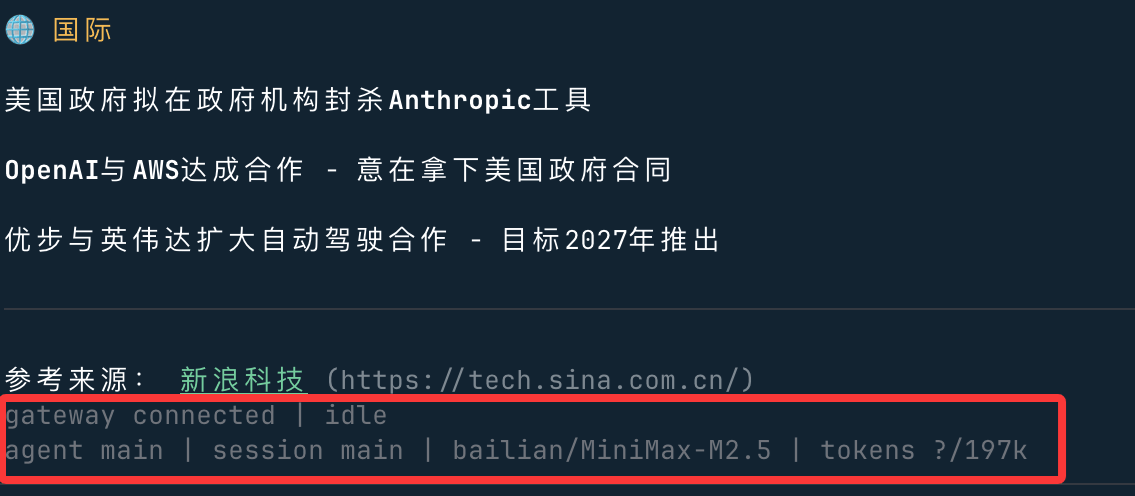
TUI 启动后你会看到四个区域:
头部区域:
底部区域:
键盘快捷键
常用斜杠命令
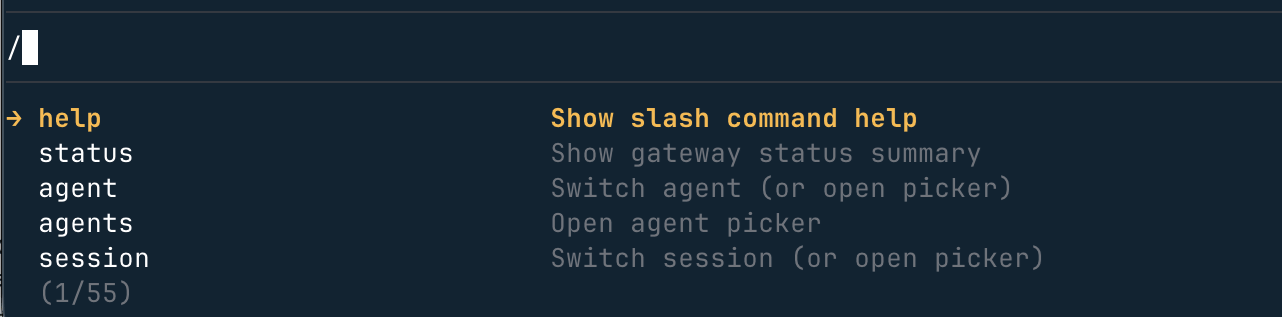
使用 / 调出命令:
常用命令:
/help                          # 查看帮助
/status                        # 查看连接状态
/agent <id>                    # 切换 Agent
/session <key>                 # 切换 Session
/model <provider/model>        # 切换模型(如 /model anthropic/claude-sonnet-4-6)
/think <off|minimal|low|medium|high>   # 设置思考深度
/deliver <on|off>              # 开启/关闭消息投递到 Provider
/new                           # 重置当前 Session
/abort                         # 中止当前运行
/exit                          # 退出 TUI
本地 Shell 命令
在输入框以 ! 开头,可以直接执行本地 shell 命令:
!ls -la          # 列出当前目录
!cat log.txt     # 查看文件内容
⚠️ TUI 会在每次会话中首次使用 ! 时提示确认授权,拒绝后本次会话内 ! 将不可用。
!
启动选项
 学习助手
学习助手