Selenium - SeleSelenium Webdriver
webdriver自动化俗称Selenium 2.0测试Web应用程序工具。 webdriver使用不同的底层框架,Selenium 遥控器使用JavaScript的Selenium 核嵌入式已经在有一定的局限性的浏览器中。 webdriver直接交互而不与Selenium 远程控制,依赖于服务器上的任何中介的浏览器。它是用在以下方面:
在Selenium开发者社区努力下,不断提高Selenium webdriver与Selenium的整合。
MULT浏览器测试,包括对不能很好地支持Selenium的远程控制浏览器改进的功能(硒1.0)
处理多个帧,多个浏览器窗口,弹出窗口和警报。
复杂的页面导航。
高级用户导航,如拖动和拖放。
基于AJAX的UI元素
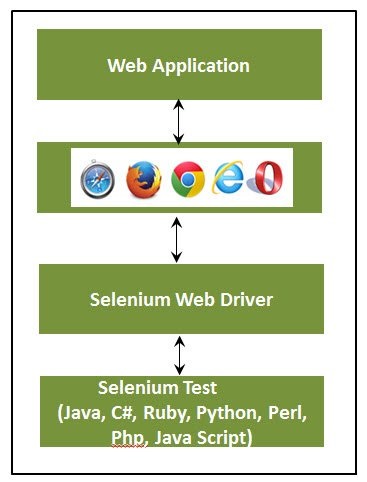
体系结构
webdriver最好用一个简单的架构图,说明,如下图所示。
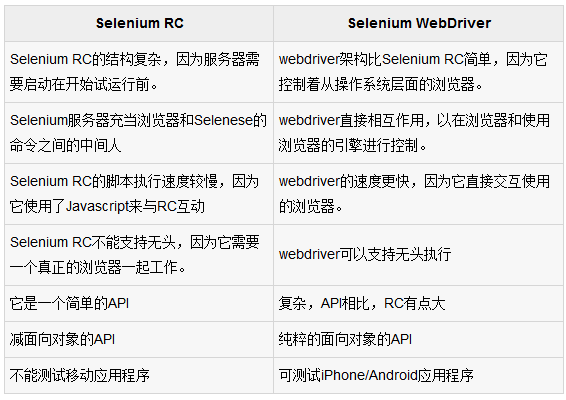
Selenium RC VS webdriver
使用webdriver脚本
让我们了解webdriver如何工作。为了演示目的,我们将使用http://www.calculator.net/。我们将执行“百分比计算器”,这是位于“数学计算器”。我们已经下载了所需要webdriver的JAR。请参阅环境设置一章。
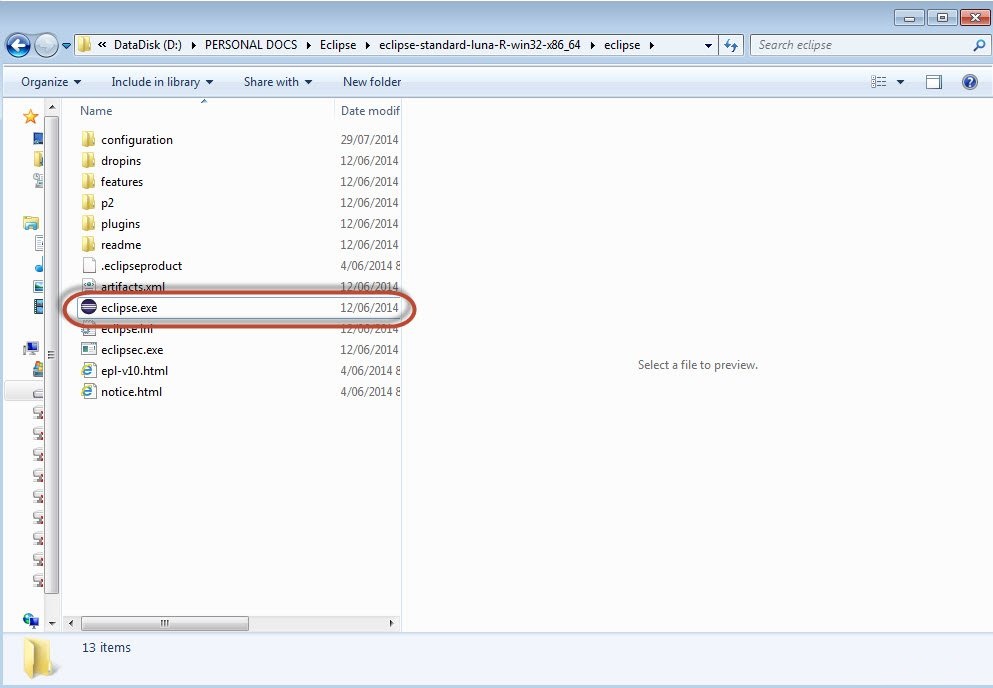
第1步:从提取Eclipse文件夹中启动“Eclipse”。
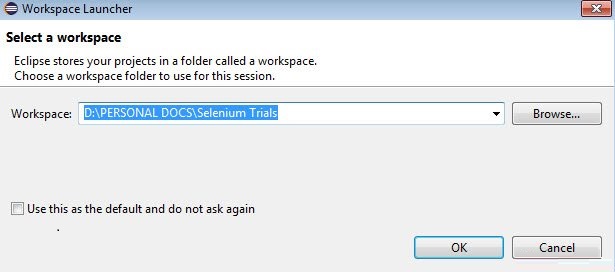
第2步:点击“Browse”按钮选择工作区。
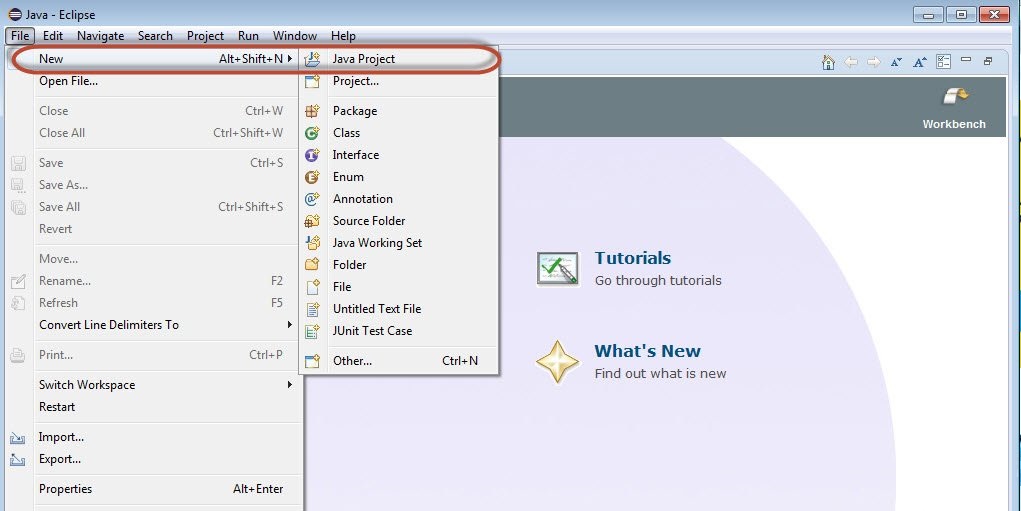
第3步:现在,创建“New Project”,从“File”菜单。
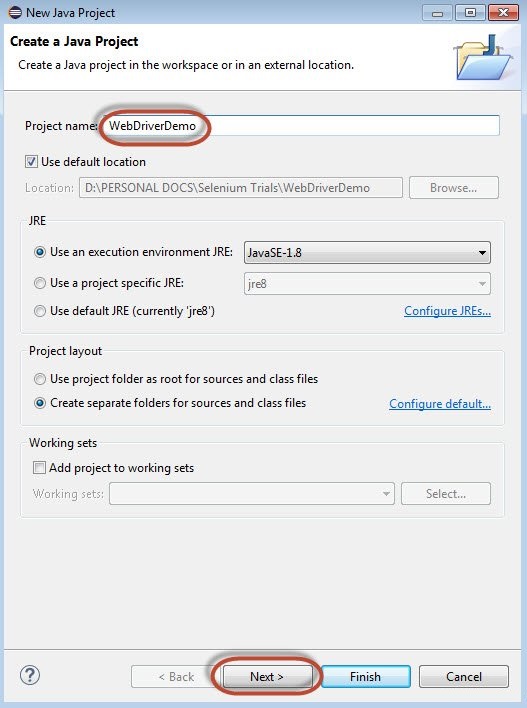
第4步:输入项目名称,然后单击“Next”。
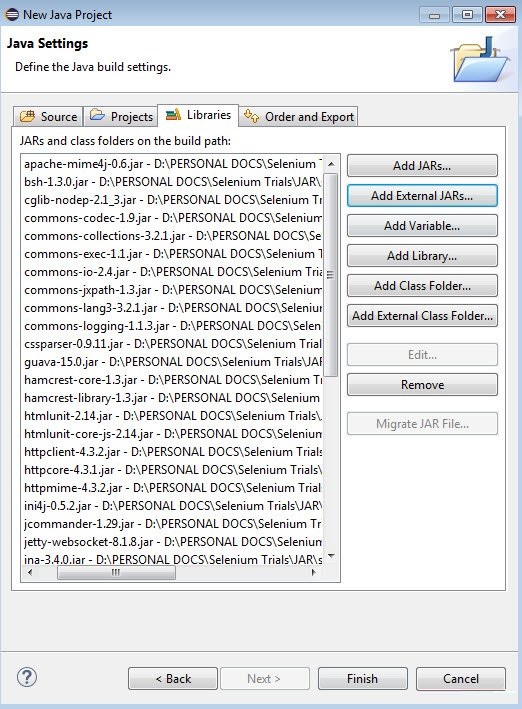
第五步:进入Libraries选项卡,并选中所有的JAR包文件,我们已经下载(请参阅环境搭建章)。添加引用Selenium webdriver的库文件夹中的所有JAR,selenium-java-2.42.2.jar和selenium-java-2.42.2-srcs.jar
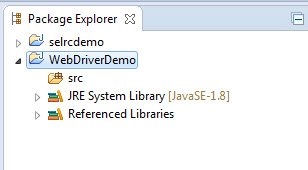
第6步:如下图所示创建包。
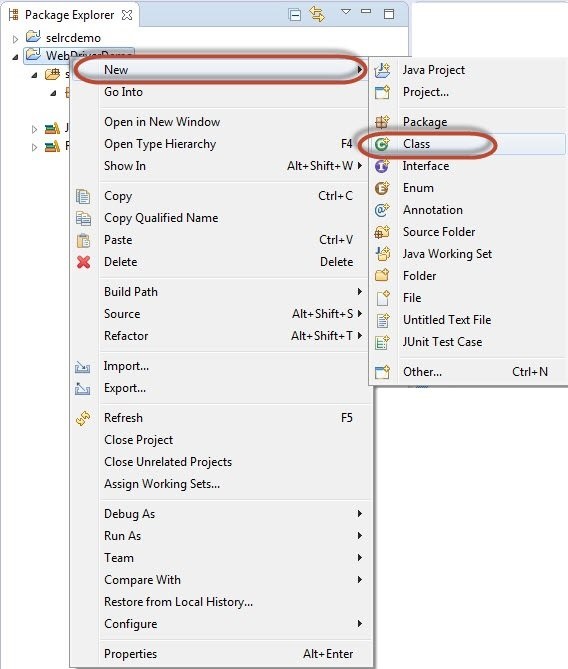
第7步:现在,让我们创建一个通过执行'Class'右键单击程序包,然后选择“New”>>“Class”
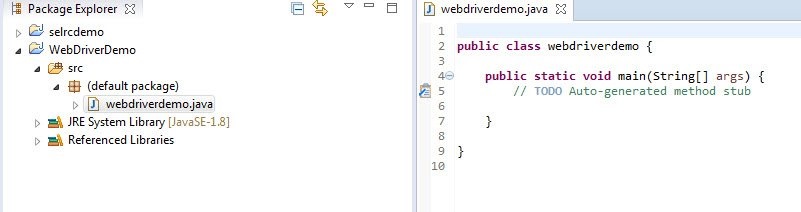
第8步:现在命名类,并让它设置为main方法
第9步:类概要如下所示。
步骤10:现在是时候编写代码了。下面的脚本更容易理解,因为它清楚地解释了一步,在嵌入的注释步骤。请看看“Locators”一章,了解如何捕捉对象的属性。
第11步:以上脚本的输出将被打印在控制台。
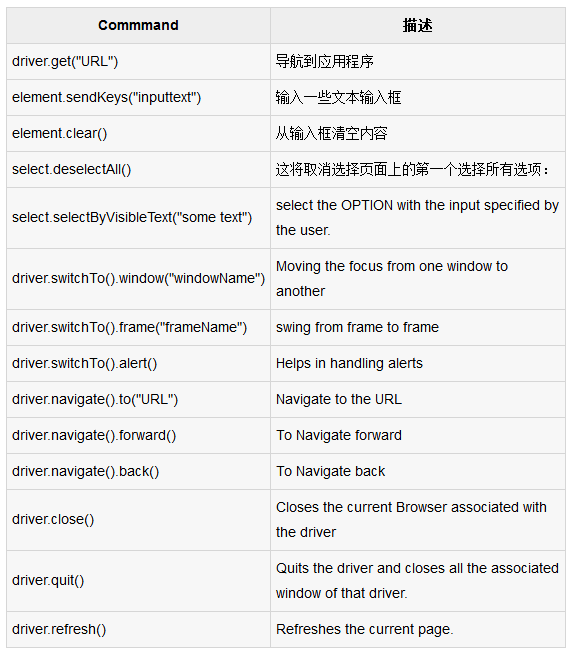
最常用的命令
下表列出了webdriver的最常用的命令以及它的语法,这将有助于我们开发webdriver脚本。